Latest versions professional programs for planning a house and plot of land, they provide the user with the opportunity not only to examine in detail the plotted objects from different angles and scales, but also to conduct virtual excursions. Here we are talking about complete visualization, that is, a thorough study of any objects from any angle.
Using such programs for site planning or country house you can “turn on” the seasons - winter, autumn; change the time of day - morning, noon or sunset, and based on the actual position of the sun or moon relative to buildings.
If you plan to build some kind of decorative landscape lighting on your future site, then utilities of such a plan will allow you to see how it will look in principle. In the era of virtual reality, it is unnecessary to talk about how realistic project simulations can be.
So, we present to your attention best programs for site planning, which have distinguished themselves by their effectiveness and have collected a lot of positive reviews on specialized forums.
Autodesk 3DS Max
The Autodesk complex is an independent and complete modeling system 3D graphics of any kind and type, including in the field landscape design. It’s worth warning right away that this site planning program is designed for experienced users, that is, professional architects whose work is in the field of three-dimensional graphics. Specialists of this kind always choose 3DS Max, and without exception.
The software is recognized as a world leader among other similar programs. Such a diverse and versatile functionality of the utility is able to help the creator in the implementation of any ideas and projects from the very beginning to the end, regardless of the scale, be it a modest house or a grandiose palace. An exceptional texture mapping system allows the user to create any landscape for your project - from lake highlights and waves to 3D landscapes with a selected climate.
It is also necessary to note that this program for site planning is a real “monster” and is extremely demanding on the characteristics of the computer, so owners of medium-sized PCs are better off immediately passing by or properly upgrading their desktop equipment. IN otherwise you will be “building” your house for a very, very long time.
ArchiCad 17
ArchiCad is also a professional software, but it is more beginner-friendly, unlike 3DS Max. If you need a planning program suburban area, and you don’t want to resort to the help of specialists, then be sure to pay attention to ArchiCad.
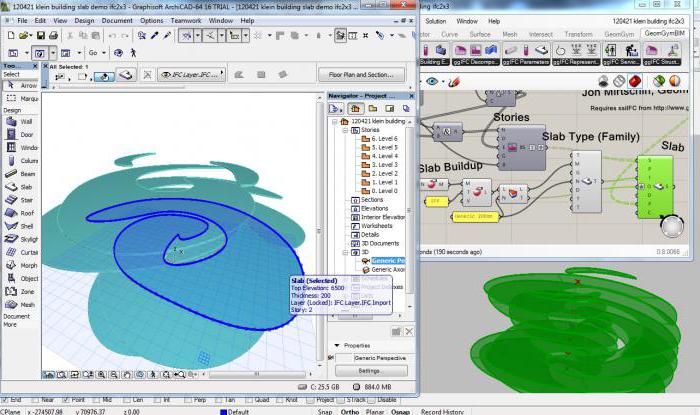
The basic version of the utility is not very suitable for landscape design; if you load specialized tools and specialized libraries, then there are more than enough possibilities for designing areas. The visual capabilities of the software, along with the functional ones, are also at a very high level.
Software features
In general, this site planning program is considered a leader in architectural modeling. The developers placed special emphasis on the accessibility of interfaces, that is, ease of learning, simple usability and a wealth of tools for this area. A beginner will be able to figure out data packages, internal libraries and some individual elements in a matter of hours.
Using this site planning program (in Russian), you can draw up construction documentation, calculate areas, manage the size of selected objects, and also carry out many other calculations. Whatever change you make is immediately reflected in the relevant output documentation, which saves a lot of time when preparing estimates.
But one of the main advantages of this software is that the program constantly saves all information about the current project in real time, and does not update it, as happens in a number of other utilities. Therefore, you can always return to previous stages and adjust the project in some other way.
The system requirements, as in the first case, are quite high, which means that owners of weak PCs will have to wait all night for data to be processed or upgrade their computer.
Complete Landscape Designer 3
This is a specific program for planning a summer cottage. If you want to quickly and painlessly change appearance your dacha and the surrounding area for the better, then pay attention to this software.
This utility has a pleasant, and most importantly, understandable interface for the average user, so almost anyone can master the program. Moreover, the developer’s official website has a lot of text and video materials to help you master it.
Distinctive features of the utility
In addition, the planning program garden plot is equipped with a huge database of templates and a voluminous library of plantings (trees, shrubs, flowers, etc.) specifically for this area. There is work with ready-made photos, as well as importing any project files from another application to make the routine easier.
This software is not so well suited for designing serious projects with complex requirements. But if you are planning to embellish and somehow improve your garden plot, wanting to do everything on your own step by step, then this program will come in handy. The software is not so demanding technical specifications computer, so it will “digest” perfectly in an average PC.
Sierra Land Designer 3D
The utility will be a great help for a beginner landscape designer. The software competently designs the area in 2D and 3D planes. The user can change the position of the camera as desired and visualize his garden even during the day, even at night and at any time of the year, which is extremely important for those who are planning some kind of lighting decorations on the site.
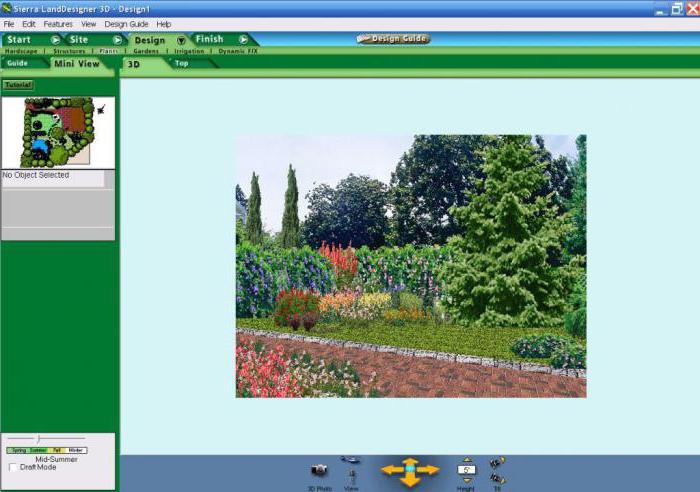
Not everyone works on their plot only for vegetables, berries and fruits. Many people work for a beautiful, original landscape that is the envy of their neighbors. It is also worth noting that the program is extremely easy to learn and does not require any specific skills. If you can draw on paper and have a good imagination, you can master the software in a matter of hours. Moreover, on the official website of the program developer there are many training materials for a thorough study of the utility.
FloorPlan 3D
The FloorPlan 3D utility is a fairly simple, reliable and effective software for those who want to design their own house or garden plot. The program has a wide variety of construction tools at its disposal, as well as a high-level visual component, which opens up ample opportunities for layout of interactive 3D projects.
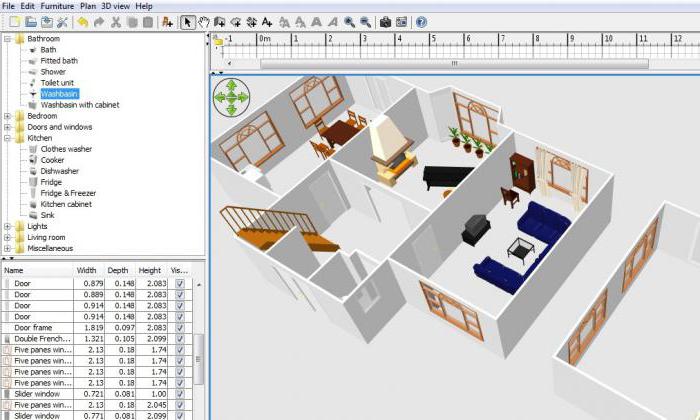
The clear and not at all confusing interface can be used by both amateur beginners and professional designers with extensive experience. That is, all those who want to somehow change or improve the area adjacent to the house, as well as the house itself.
Features of the program
Using this utility, you can move all objects around the designed area in 3D format: examine in all details the landscape of the site, the walls, ceilings of the house or the interior of the home, and from any angle. The visualization is very realistic, so you can “see the future” online.
To work with the program, it is not necessary to have a high-performance computer, but an average desktop is quite sufficient. There were no obvious dissatisfaction with the speed of the software.
"Our Garden Crystal"/"Ruby"
This is a rather specific utility, and it is aimed exclusively at landscape design suburban areas. “Our Garden Crystal” is an indispensable assistant for both the amateur gardener and the professional plant designer.
![]()
It is also worth noting that the software is a teaching aid for teachers and their students in some design schools, institutes and colleges. Educational establishments adopted this design tool thanks to full support for the Russian language, numerous reference materials (documentation and video presentations), as well as undemanding requirements for the “stuffing” of a personal computer.
The program allows you to monitor your virtual garden at any time of the year and day. The utility will carefully calculate what changes await your site and the vegetation planted on it over the course of several months or years. Here you can realize any creative ideas and create a unique landscape project summer cottage plot.
The developer provides everyone with an introductory free version, and if the user is satisfied with it, then the subsequent purchase will cost around 3.5 thousand rubles, which is not so expensive for software of this kind.
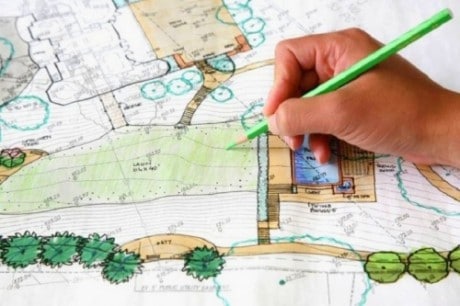
Having collected all the information about our site, we can begin to create a plan. First, let's decide how to draw a site design plan.
This must be done, of course, on a scale. That is, a meter of actual length on the plan is reduced, for example, 1:100 (this is enough for a small area), and then 1 m of the area on the plan will be equal to 1 cm.
Site design plan: basics of creation
To make drawing easier, it is more convenient to use squared paper, but it is best to use graph paper. In addition, you can use a computer to create a plan, which is very convenient.
Site elements
Regardless of how you draw a site plan, on a computer or by hand, you need to have an idea of how to indicate garden elements, trees, etc. on it. The plan should be clear and easy to read. This means that all elements must be stylized, but in such a way that we can easily understand what is depicted, without unnecessary detail, which will only get in the way at the initial planning stage.

Plants
The plan should clearly show where the paving is and where the lawn is, where the fruit trees are and where the conifers are, where the flower beds are and where the group of shrubs is. The outline of the plant is immediately drawn taking into account its growth. For trees, it is necessary to indicate the central point, the trunk, which determines its exact location, and the dimensions of the crown of an already mature plant. In addition, it is best to highlight the crown of trees with a thicker outline in order to emphasize their dominant and structure-setting significance. It is better not to shade the crown itself tightly, but to draw it translucent so that it is clear what is under it. Evergreens need to be shaded more densely.
You should not enthusiastically paint each plant on the general plan; you can do this later, drawing the specifications of individual flower beds. And you shouldn’t draw all the plants in a flower garden blooming at the same time, because that doesn’t happen in life. To understand seasonality color range flower garden, it is better to paint each season separately.

Colors
In general, you shouldn’t get carried away with color in the general plan - most often it is used to highlight the more significant parts of the garden. Also, when using color, try to choose a realistic color scheme.

Shadows
To understand which parts of your garden will be open to the sun and which will be in the shade, you can draw shadows. There is no need to draw them from all objects and plants; it is enough to indicate the most significant ones.
House and buildings
All main buildings and large trees should be positioned so that they do not provide a lot of shade on the site. If the house is still under construction, it is better to plan it closer to the northern part of the site.
It is advisable to place the entrance to the house on the south side - less snow accumulates on it, and it melts faster in the spring, due to which good conditions to create a ceremonial flower garden in front of the entrance to the house.

Communications
Thinking about buildings: a house, a bathhouse, summer kitchen, - remember that they need communications, light and water, so it is preferable to tie their location relative to each other.

Economic zone
It is advisable to locate the utility area with a vegetable garden in the southern part of the site and preferably away from the residential area. Near the garden it is convenient to immediately plan a shed for storing household supplies. It is also important not to forget the place for compost heap and a place for burning garbage, because not all plant residues can be put into compost; diseased plants and foliage must be destroyed. You can conditionally designate and separate this zone with berries or simply decorative bushes.

Garden
When planning a garden, people often wonder how many fruit trees and berry bushes should be on the site. It really depends a lot on your personal preference. Maybe you want a big shady one orchard, or maybe four or five fruit trees are enough for your family.

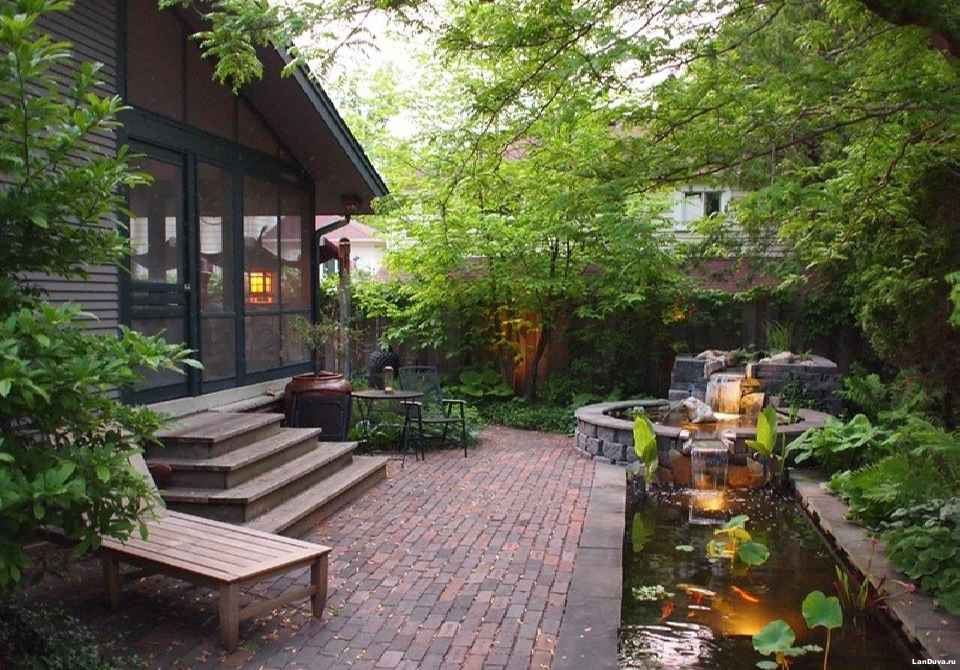
Pond
When planning a pond on your site, try to place it so that it is not in the sun all day, and it is not advisable to place the pond too close to trees. If the terrain allows, then, of course, it is better to make a pond in places where the site is naturally low.

Paths
Now that you have outlined all the zones and placed the buildings, you can begin to create the paths. It is better to start with the main paths, and then outline the secondary ones. Try to think about how it will be more convenient to move around the site. A person always automatically tries to shorten the route - do not forget about this when planning paths. If their network is poorly thought out, in practice it is very noticeable how “spontaneously laid” paths are trampled on the site.
Between the main points of movement, try to shorten the routes as much as possible, but if you still really want to bend the path, then plant a group of plants or place a garden element at the bend to justify the curvature of the path in this place. But a winding path can lead to the recreation area.
The width of the main paths should be 100-120 cm so that two people can walk along it side by side, but in practice on small summer cottages To save space, garden paths are often made a little narrower. Secondary paths can be 60-70 cm wide. In the garden, between the beds, the paths are made narrower, from 40 to 50 cm.
The last stage is a detailed study of each zone and flower beds, depending on the chosen style. This is one of the most exciting stages, and you can do it for years. There are no limits to your imagination, but do not forget about harmony and proportions.
How to draw a garden plot plan yourself
Every business we start needs to have a plan. It doesn’t matter at all what you are going to do, because all the details of this or that matter should be carefully considered. And when it comes to a garden plot, this matter cannot be done without drawings.
It is much easier to make certain calculations on paper than on a piece of land. In this case, it is simply impossible to avoid mistakes, and correcting them on paper will not be difficult.
To create a garden plot plan, you need to draw a sketch of the plan for your garden plot, and only after that begin to add some details into it that correspond to your future actions.

If you have at your disposal large plot, it should be divided into several sectors that you will eventually connect. You should leave small margins along the edges of the sheet where you write down the measurements.
In order to measure your garden plot, you need special tools, including:
- Pencils, eraser, sharpeners;
- A metal ruler, the length of which should be 1.8, to measure small distances;
- Measuring tape, the length of which must be at least 30 m.
- Pegs, with their help you can mark your site or fix a measuring tape;
- Tablet with clips;
- Graph paper.
We begin to make a rough version of our drawing.
From now on, you can fantasize, draw on paper what you would like to see as your new site. When drawing images on paper, remember to maintain scale.
- Take your first drawing and transfer it to special drawing paper. Using this procedure, you can easily calculate the length of all boundaries of the site and the amount of materials you need, including bricks and stone blocks.
- In this case, it will be much more convenient to use graph paper, which can be purchased at special stationery stores.
- If your garden plot is small, it can easily be contained on one sheet. In another case, if the area is large, you should make sketches of its parts, which are then connected, or immediately make a general plan on a large sheet of graph paper.
- When choosing a scale, you should take into account that the site plan must fit on one sheet. In most cases, when small areas, the ideal option is a scale of 1:50. If the area is large, it is recommended to use a scale of 1:100.
- First, you should draw the boundaries of your garden, as well as the location of the house. Only after this can you draw all the elements that you want to see in the future.
- You already have all the dimensions in the rough sketch you made before.
Also, before you draw your general plan You may need to make several rough sketches. Even professional specialists cannot create the final garden plan the first or second time. And if you are drawing up this plan for the first time, you should not skimp on paper.
Sierra land designer 3D 7.0 program
You can make multiple photocopies of your first sketch, which will result in you putting additional elements and save your time perfectly.
An excellent option is to apply tracing paper to the main plan, with which you can arrange the elements of your future garden.
If you want to make a color drawing, you can use transparent films.
If you have free time or desire, you can cut out special figures of the main elements that you will install in the garden from plain paper. When moving such figures around the drawing, it is much simpler and easier to determine the location of a particular element.
Let's look at some professional tips for drawing up a plan for your garden plot:
- First of all, you should draw the outer boundaries of the garden plot, and only after that the location of the house, flower beds, or other objects.
- Then draw elements that can be placed on your plan without any effort. These are objects that will not change the territory of their location. Among such objects it is worth including a house, indicating all its windows and doors. This is necessary in order to ultimately see the full view of your site.
- It is recommended to draw with a pencil first, which will make further changes easier.
- Use a compass or special bendable ruler to draw circles.
- Avoid long lettering as it takes up a lot of space and will make it much more difficult to draw objects.

Our Garden Rubin program
In addition to all of the above, relief is of particular importance. If you have a flat area, then you should not mark it on the drawing. In another case, if there are ups and downs on the ground, then such moments should definitely be indicated in the sketch. Geodetic surveying would be an excellent option, but not every person has the opportunity to conduct it. As a result, you should carry out this work yourself.
It is not at all difficult to determine which direction a particular slope has. To do this, stand at the highest point of your site and look around. To determine the size of this slope, you should use a water level, which you can easily make with your own hands. To do this, stretch the water hose from the high point of the slope to the lowest point, then raise the ends of the hose to the same height and run some water into the hose. As a result, the difference that will be between the height of the column in two sections of the hose will be the size of this slope.
Don’t forget to put on the plan all communications that exist on the site.
- First you need to specify gas, then electricity, water, and sewerage. And only now should you mark on the area where you will enter communication data. This process is necessary in order not to harm them during gardening work.
- If you are going to plant your plot, then you can use the plan to make a real map of your garden. You can mark special areas on the plan, including rocky or wet soil, strong gusts of wind, and others.
Today there is a large number of programs that allow you to model a garden plot on a computer, which is much more convenient than on paper.
Using such a program, you can design your own site without having to count dimensions at each stage of work.
Among such programs it is worth highlighting:
- Professional products for site design;
- Programs for ordinary users.
It is very popular and convenient Sierra land designer 3D 7.0. This program provides the user with a large number of different possibilities, has a large database of plants, and allows you to add your own design options. The advantage of this program is its 3-dimensional view and ease of use. In addition, to use this program there is no need for special knowledge and skills, because it is quite simple.
Second option « Our Garden Rubin 9.0.” This program is an embodiment innovative technologies 3D. Here you can experiment and fully open your imagination.
In such a unique program, you can easily create a plan for your garden, and completely embody on it all the ideas that exist in your design project.
Third program Realtime Landscaping Architect, is the best 3D version. With its help you can create interesting projects, which include a large number of elements.